Using the Update Manager to handle updates

Anyone developing a CP-specific plugin needs to be aware that (for now) it’s the developer’s job to process the updates. There are a number of ways to handle this, but the most widely used method is via the Update Manager plugin. This was specifically written for ClassicPress by John Alarcon (Code Potent) after other options such as fx-updater and GitHub Updater were evaluated and found to be less than ideal. The plugin is now managed by Simone Fioravanti.
The Update Manager is a very neat solution that allows you to easily and securely manage updates for all of your plugins from one central point. It would typically be installed on your own website, just like any other plugin. The management setup is quite simple and involves two stages.
- On your website you create a new entry for your plugin in the Update Manager, making sure to include at least the minimum amount of information: the plugin name, the folder/file name, the current version and the download link.
- In your plugin you add the extra “client” file (supplied) and modify a few lines of code to customise it for your usage.
When you want to push an update you simply change the version number in the Update Manager (you may also need to amend the download link if this has changed). The client file then recognises that it’s time for an update and alerts the user in the standard way. Once the user hits “update” the new file is installed from the address specified in the download link (usually direct from a GitHub repo).
There is very little overhead at your end. All the Update Manager is doing is directing traffic and making sure the process goes smoothly. And the best thing is that the end user isn’t even aware that anything different is happening. They don’t need to install any extra plugins or do any extra steps to use your plugin… to them, the whole process looks exactly the same as before.
On your website
To use the Update Manager, first download the plugin from the directory, install it and activate it in the usual way.
Using the links on the side menu, open the plugin dashboard and select “New Plugin”. You will see a basic template that shows you what is required.
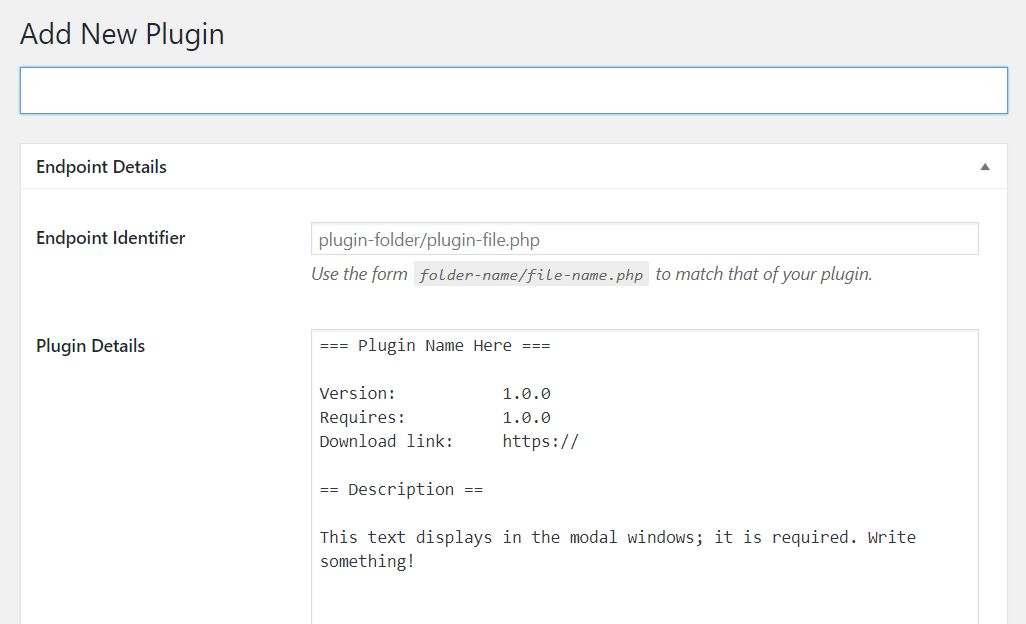
Give your plugin record a name and fill in the endpoint (folder-name/file-name.php) to match your plugin. In the box below you will see the minimum requirements, so fill in the plugin name in the heading (keep it within the === tags), the current version, the download link and a short description. You can leave “Requires” at 1.0.0 – this is the required ClassicPress version.
The download link can be a file located on GitHub, BitBucket, AWS, or even your own website server. That’s up to you. In the example below we will assume that you are downloading from your GitHub repo.
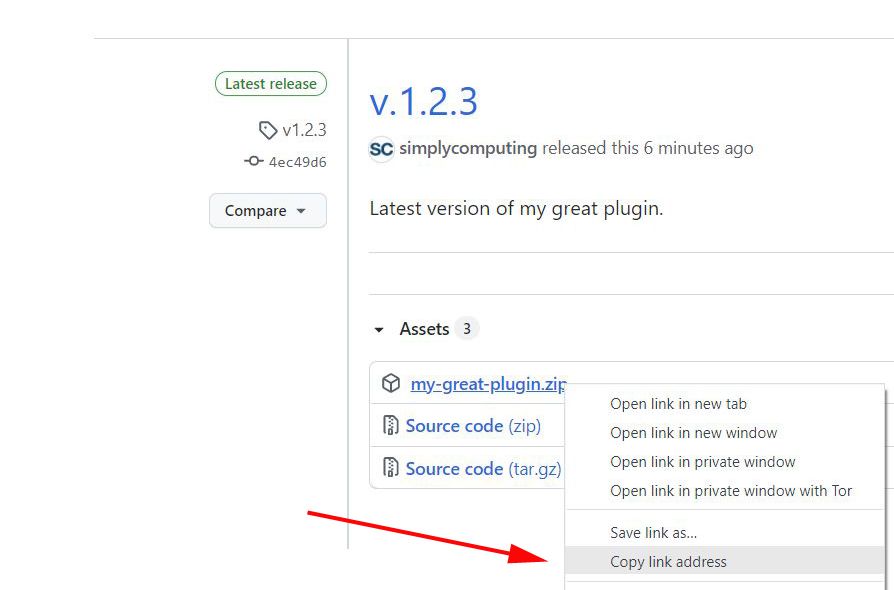
Go to your GitHub account and open the releases page for your plugin. Right click on the plugin.zip name for the latest release and select “Copy link address”.
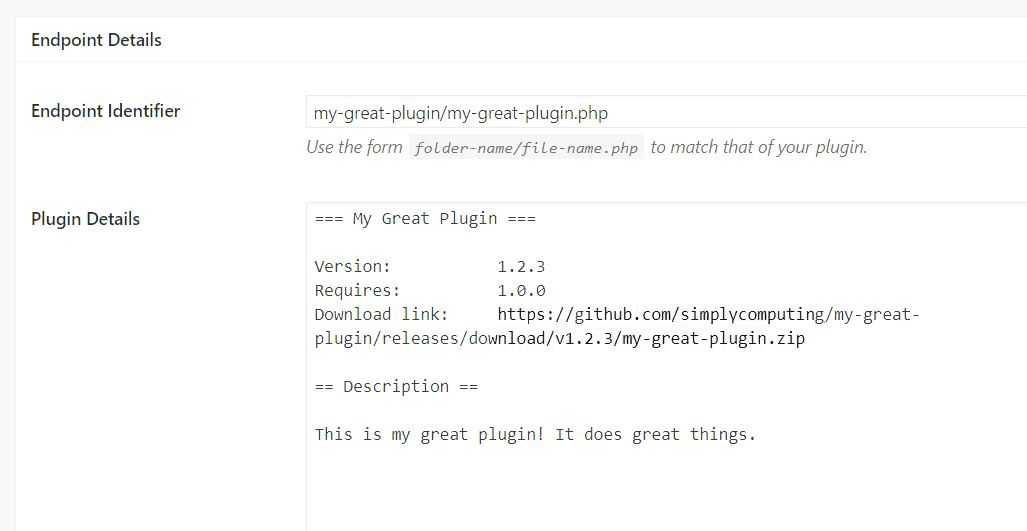
You can now paste this into the download link field and save the record. You should have something like this…
In your plugin
The Update Manager plugin contains a file in the “classes” folder called UpdateClient.class.php. Copy this to some convenient location in your own plugin. You can put the client file anywhere that fits in with your plugin file structure – just be aware that you will need to call this file from your main plugin file by adding a line of code that specifies the location. For example, if you put the update client file in your “includes” folder then you would use:
require_once(trailingslashit(plugin_dir_path(__FILE__)) . 'includes/UpdateClient.class.php');Now, you will need to edit two or three lines in the update client file itself. These have all been placed at the top of the code so they are easy to find.
The first defines a namespace to make the plugin unique and avoid conflicts:
namespace SimplyComputing\MyGreatPlugin;The second is the address of the website where the Update Manager is installed, so the client knows where to check:
const UPDATE_SERVER = 'https://simplycomputing.com.au/';The third is optional (it is commented out by default) and will be discussed more in the security section below.
// const SECURE_SOURCE = 'https://github.com/xxsimoxx/codepotent-update-manager/';Security
An extra setting was recently added to increase the security of the plugin update process. The client file can now include a hard-coded line that specifies the only allowed download url location. If this is ever changed in the Update Manager then the plugin will not show any updates are needed. To enable this feature, uncomment the line of code and change it to show your correct source. In our example we are using a GitHub repo so we would change…
// const SECURE_SOURCE = 'https://github.com/xxsimoxx/codepotent-update-manager/';to this…
const SECURE_SOURCE = 'https://github.com/simplycomputing/my-great-plugin/';If you have a static IP you could also consider locking your entire admin area to your own IP address for an extra security measure. To do this, add an .htaccess file in the wp-admin folder containing these lines, with your IP address inserted…
order deny,allow
deny from all
allow from xxx.xxx.xxx.xxx
Extra Features
The Update Manager has many extra features built in, but these are beyond the scope of this tutorial. The update screens will look much more professional if you add custom icons, banners and screenshots. You can also include more details such as a full changelog. Or perhaps you want to test the update to a single user before pushing it out universally?
There are a lot of possible settings and tweaks so, once you are comfortable with the basic functions, check out the comprehensive instructions that are available on the plugin page. And if you have any more questions just ask on the ClassicPress forums. The original plugin developer, the current plugin manager and a lot of satisfied users are there ready to give you help and advice.