2 Ways To Migrate Your ClassicPress Site To New Host With No DownTime
How to migrate your ClassicPress site
Migrating your website to a new hosting provider can be quite challenging especially if you are doing it for the first time, but it doesn’t have to be.
Even if you get past the migration, the few little issues you might encounter during migration could cause downtime & data loss, which you should avoid at all cost.
In this guide, you will learn two good ways of migrating a ClassicPress website with neither zero downtime or data loss, but before we get started, I’ll love to stress this point:
Pick a Reliable Hosting Provider
You don’t want the hassle of jumping from one hosting provider to another. This is why it is crucial to pick a suitable and reliable hosting platform. Invest your time and effort in comparing different hosting offers.
Is your current shared hosting server not up to par? Switch to a managed ClassicPress hosting solution. A simple google search of “ClassicPress Managed Hosting” should show you various options.
If your business is growing very quickly, you might also consider using either a VPS or a dedicated server, this way you can always ensure optimal server performance.
Note: Don’t inform your current hosting providers about the migration until about 5 days after you move, because they could terminate your account and cause something worse than downtime. Test the new server for a while and if it fits your need, delete the other server and rock on.
Let’s get started with the migration.
Method 1: Using a Plugin (UpdraftPlus)
Once you have selected your new hosting platform, the next step is to download and activate UpdraftPlus on your ‘old website’.
UpdraftPlus is a free plugin that provides a complete website backup solution plus an option to backup remotely, it backups your files (images, videos), database, plugins, and themes.
Before we start backup up a complete website, it is advisable to put the website you’ll be migrating in read-only mode (disable comments and forms, make sure you halt your editors from publishing contents, installing plugins, etc)
Step 1: Backing Up a Complete Website
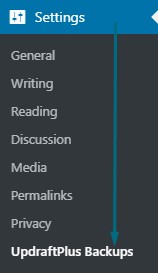
Let’s take a backup. Go to UpdraftPlus backup settings:
You can either download your backup file or save it to remote storage. To make the process easier, I’ll go with the remote option.
Note: It’s best to avoid backing up to the web server, because losing the web server would mean losing both your website and all of your backups. Instead, you can download the backup to your local hard disk. This option isn’t necessary if you are backing up remotely, but it doesn’t hurt to keep two copies.
Navigate to UpdraftPlus Settings, and choose remote storage.
I am using Google Drive, but feel free to use whatever soothes you as long as you have an account with the remote provider.

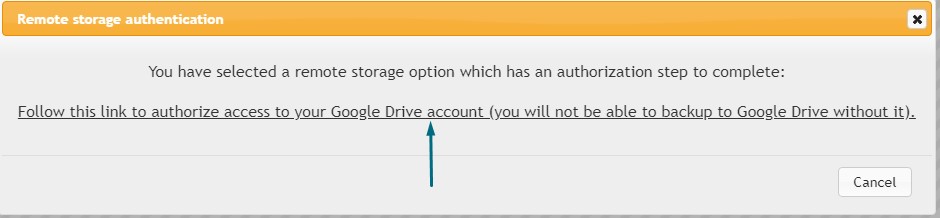
UpdraftPlus needs authorization access to your Google Drive account. Follow the link to authorize access to your Google Drive account and Allow Access.
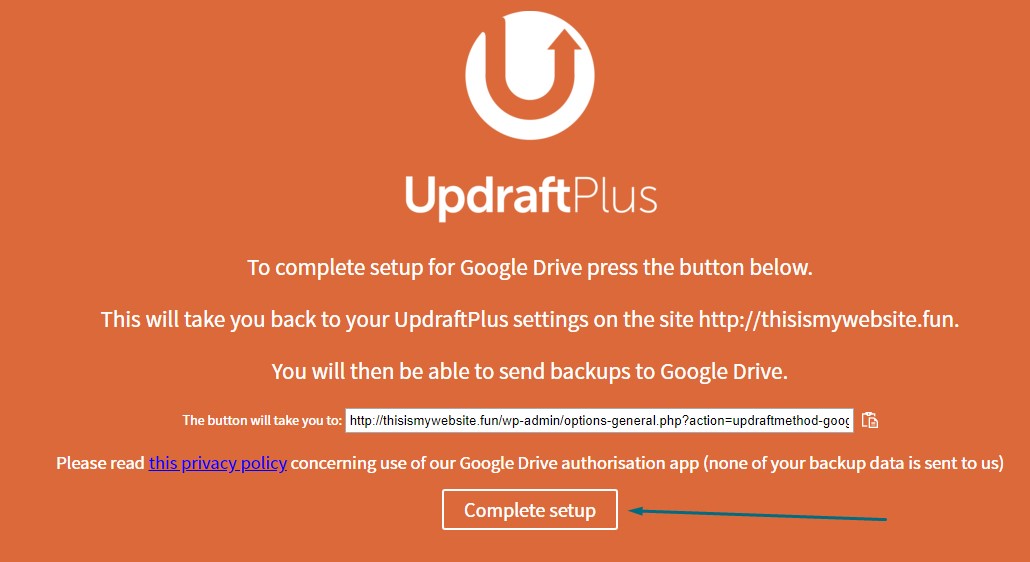
Once you’ve allowed access, click the Complete Setup button to proceed:
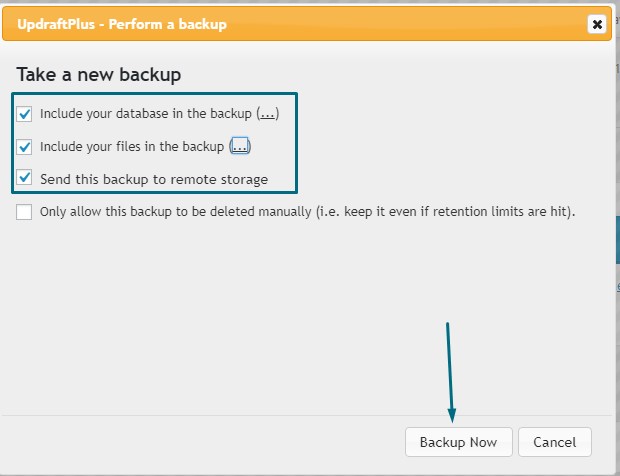
Push the backup button:

and you should see a couple of options, make sure “Send this backup to remote storage is ticked” among the other two outlined in the image below. Click backup once you are done cross-checking:
Depending on the size of your ClassicPress website, this could take a couple of minutes.
If you receive “UpdraftPlus Vault: this site has not been connected” don’t fret; re-click the Backup button and hopefully, UpdraftPlus should reconnect to your remote storage.
You should see this once the backup is completed:

You can also download the backup to your local hard-disk, but this is totally optional.
It’s time to restore the backup on your new host, but before we do, we need a way to test the new host/server without it been publicly available, this is done via the Hosts file. (This make sure your old server is still running while you are testing the new one.)
Step 2: Modifying the Hosts File
A hosts file is a simple text file that associates or maps an IP address with hostnames, this is kind of difficult to grasp but this is basically how it works:
When you buy a new server/hosting, you are given an IP address for that server. The IP address is like a phone number that is associated with your domain name. For example, classicpress.net has its own IP address. When you type in classicpress.net in the URL address bar, it resolves (or connects) the domain name “classicpress.net” to the IP address where your website “lives”. For example, the IP address for classicpress.net is 192.33.44.55. Similarly, your mum’s name in your phone book has a specific phone number attached to it, and if you call it, you’ll connect with your mum… you get the idea 😉
At first, I want to be the only one to access the new server so I can test if everything works correctly before I go live. To do this, I create a hostname (my current URL address) and associate it with the new IP address I got from our new hosting provider.
Don’t overthink it; this is like creating a local server with your domain name but in this case, you are faking the URL of your domain name to point to the new server’s IP address.
First, copy the new servers’ IP address. If you don’t know how to find your new host IP, ask your hosting provider. (This is also a test to show if their customer support is responsive or not.)
Once you’ve copied the IP address, edit the hosts file on your computer. Instructions for both Windows and Linux/OSX below:
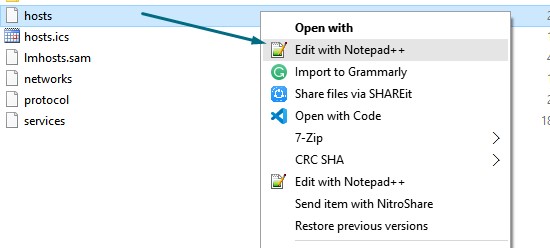
On Windows, the file is located at C:\Windows\System32\drivers\etc
Right-click on the hosts file and open with your preferred text editor:
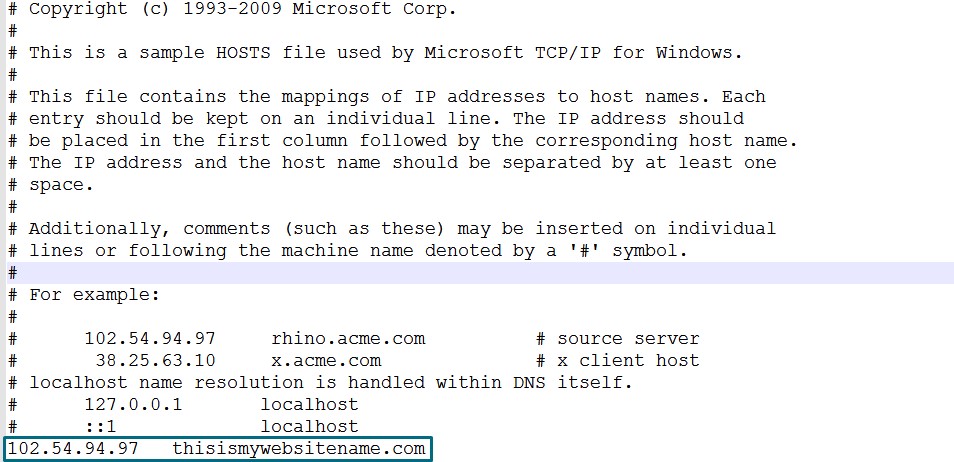
Add both your new host’s IP address and your existing domain name to the file. Now, whenever you visit the domain name, it will point to your new server, but only on your computer. This makes testing easier.
Note: Hosts file doesn’t determine the protocol you would use, so, you don’t have to add http:// or https://
Save.
On Linux & OSX machine:
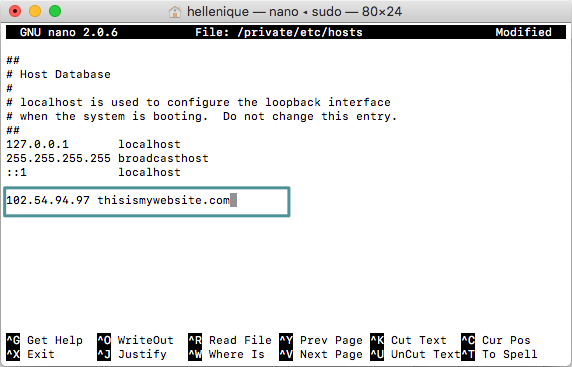
Fire up your terminal and run sudo nano /etc/hosts
If that command isn’t working on mac, use sudo nano /private/etc/hosts
Add both your new host’s IP address and your existing domain name to the file:
linux:

OSX:
Save with CTRL X and confirm with y
Clear DNS cache: sudo service nscd restart
Now, if you visit your domain name, it would be loading the content from your new server. But we haven’t imported the backups yet. Let’s dig into that next.
Step 3: Restoring Backup to the new hosting server
Now that you are able to access new host, download and install ClassicPress either via Softaculous, Installatron or manually, here is tutorials on how to do it:
Once you install ClassicPress, the next step is to download and activate UpdraftPlus on your ‘new website’.
You will need to reconnect UpdraftPlus to the remote storage you connected to earlier (in my case, it was Google Drive), this way, you will be able to restore the backups in one click:
UpdraftPlus needs authorization access to your Google Drive account. Follow the link to authorize access to your Google Drive account and Allow Access.
Once you’ve allowed access, click the Complete Setup button to proceed:
Rescan the remote storage from the existing backup section to get the stored backup file:

And that should show you the backup file:

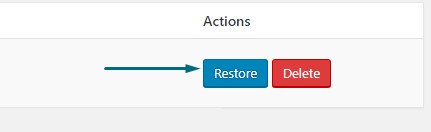
Go ahead and restore the backup data:
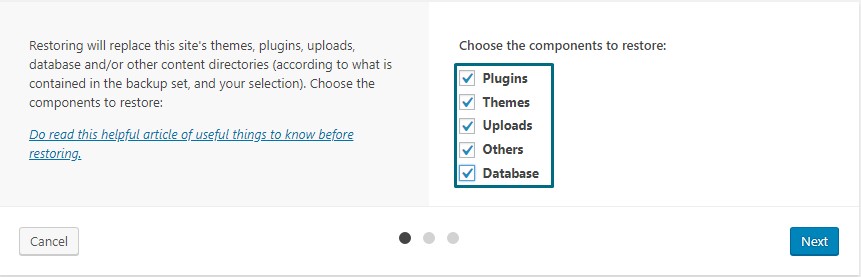
Once you’ve done that, you will see a restore window, select all that applies and click next as shown in the image below:
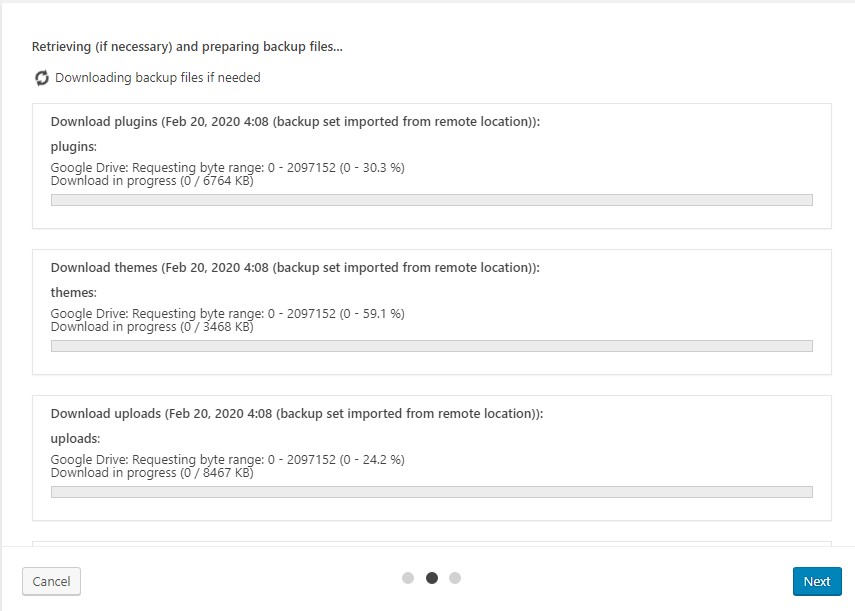
UpdraftPlus would retrieve and prepare the backup files:
If the website address in the backup data is different from that of the new site, you may get a warning about it. While that isn’t an issue, do make sure the URLs are both of the same formats. For example, if you had https://example.com in the old URL, the new URL should also be https://example.com and not https://www.example.com or http://example.com. This isn’t an issue if the variations are redirecting to the proper URL.
Finally, click Restore:

Hopefully, the migration should be completed! Feel free to test if all the files are intact. If all your files are in place and you are done with testing, we can move on to adding DNS records of the new host.
Step 4: Updating Your DNS Server
To avoid confusion, delete the line you added to the hosts file. If you don’t, your computer will use the address mapping in the Hosts file and it won’t query the DNS.
Note: The changes can take anywhere between 30 minutes – 48 hours, use dnschecker to monitor the website propagation across the globe. – Thanks to James for pointing this out
Now that you have both files on both hosting accounts, it is time to update your DNS nameservers with the ones provided by your new hosting provider. Please contact them if you are finding it difficult to find them.
It usually looks something like this:
ns1.yourhostingprovidersname.com
ns2.yourhostingprovidersname.com
Once you have the DNS, go to your domain registrar account to make the changes.
If you are using Namecheap as your registrar, this is under the Domain Tab (If you aren’t, ask your host where it is located.):

Then scroll till you get to ‘Nameservers’ and choose Custom DNS
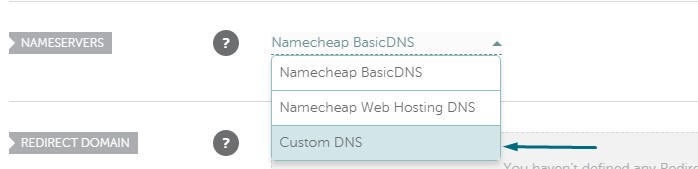
Add the DNS records:

Step 5: Wait For Propagation
Once you have updated your DNS servers, you will need to wait between 30 minutes to 48 hours from the time of the change before your site will load from the new host. Although we can reduce the TTL for faster propagation, this is beyond the scope of this guide. If you want to learn more, there are some good tutorials on best practices for TTLs on the web; your hosting company should be able to help you here as well.
While your DNS servers are propagating worldwide, your site will load either from the old hosting account or the new hosting server if the DNS flushes in some region. This ensures a smooth transition. After a day or two, you can cancel the old host account.
Method 2: Migrating Manually
If you want to manually migrate to a new server, you will have to back up the file & database and then transfer it to the new host. This is pretty straight-forward. To do this, you can either utilize your hosting control panel (e.g Cpanel, VestaCp, etc) or use an FTP clients such as Cyberduck, FileZilla or WinSCP.
I’ll be using WinSCP as my FTP client!
Step 1: Download ClassicPress Files & Database
First, you connect to the old hosting server with WinSCP:
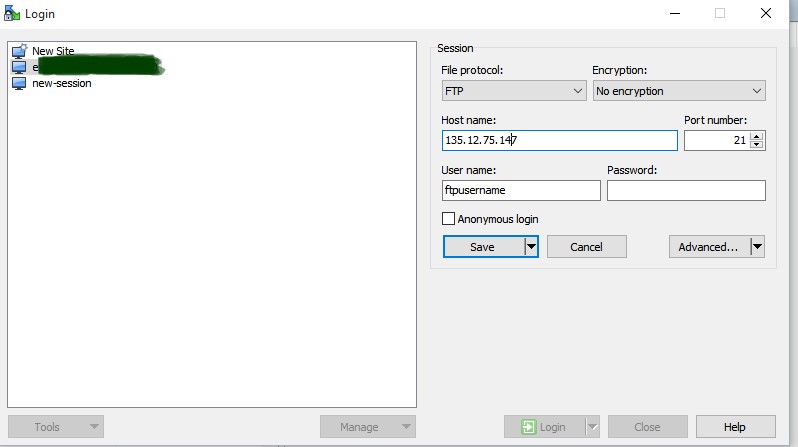
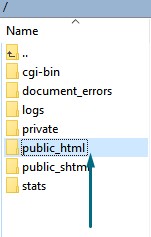
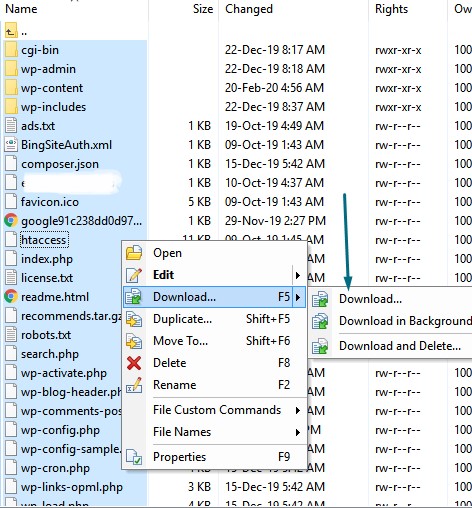
You can ask your hosting provider for the FTP details. Once you have connected, Open the public\_html folder (or your host’s equivalent). Select all the files inside it and Right-Click to Download:
Once the download is completed, it is time to backup the database:
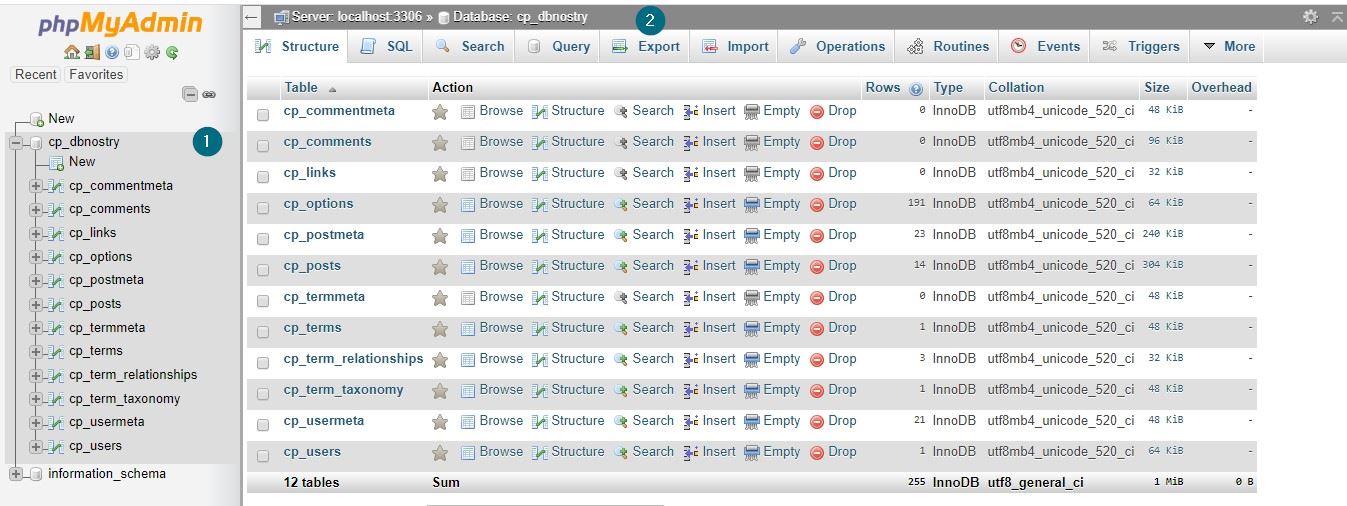
Access your PHPMyAdmin page from your hosting control panel. Once you are in, select the Database you want to export, and click the Export Button:
Click the ‘Quick Method’ and Go.
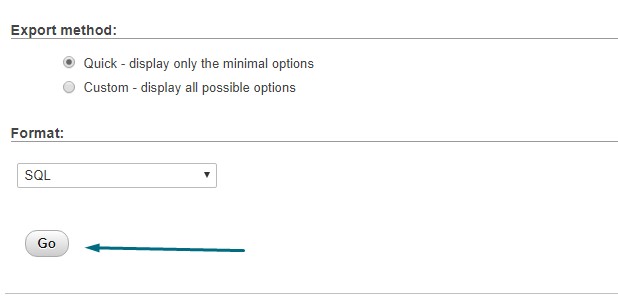
Once you click Go, your database should be downloaded.
Step 2: Upload ClassicPress Files and MySQL Database to Your New Host
The next phase is to upload all you’ve downloaded from your old host to the new host server:
- First, extract the backup you downloaded.
- Connect to the new server with your Ftp client
- Navigate into the
public\_htmldirectory - Upload the files you just extracted into the
public\_htmldirectory - Lastly, let’s create a new database for the new host
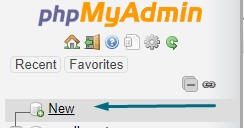
Access your PHPMyAdmin page from your hosting control panel. Once you are in, click on New:
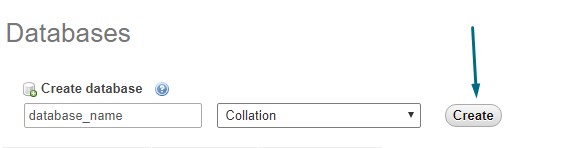
Input your new database name and click create:
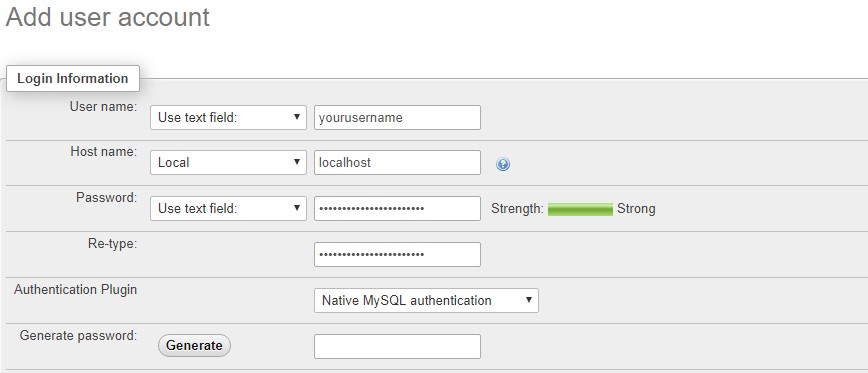
Navigate to Privileges Tab and Add user account:
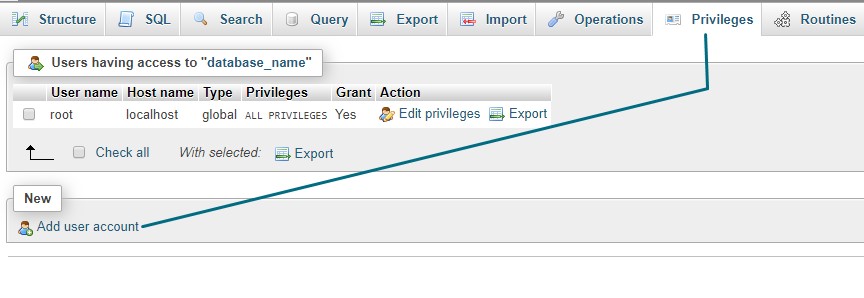
Type in a username, localhost and a password in the fields as shown in the image below:
Grant user privilege.
Note: If you don’t want to be a superuser or an Admin, you can uncheck the Administration privilege.
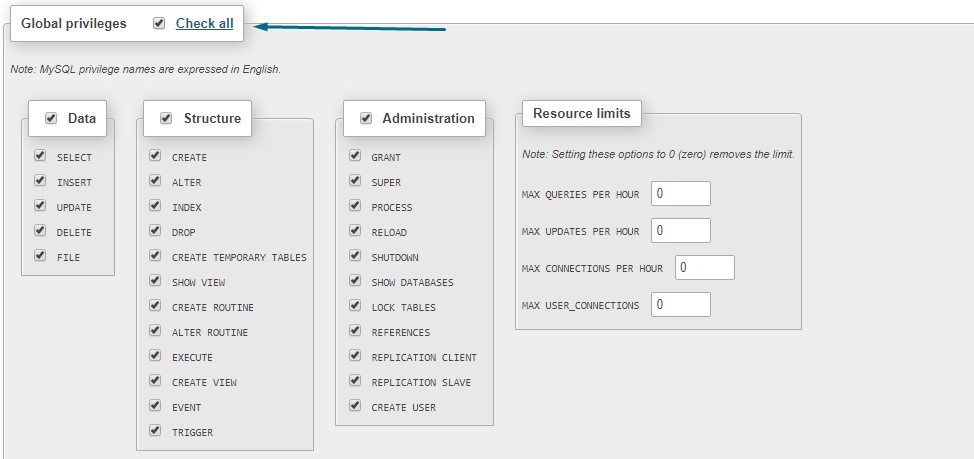
Click on the Go button to save the details:

Take note of the database name, username, and the password.
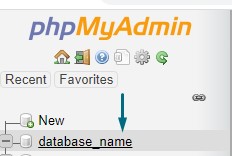
Select the new DB you just created:
Click the Import tab:

Upload the SQL backup you downloaded the other time and click Go:
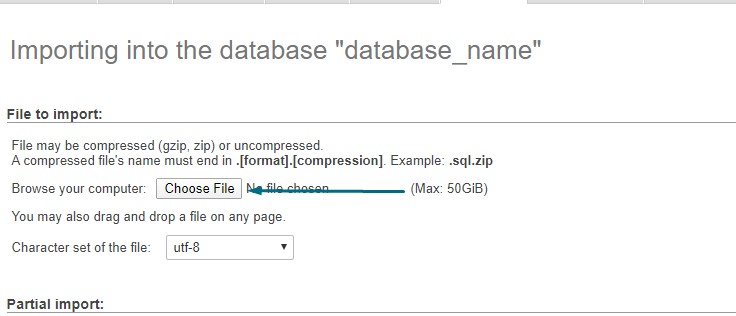
Once you have chosen the SQL file, click Go at the bottom of the page, and that should upload the records.
Step 3: Update wp-config.php with Your New Database Details
Access your new host account with an FTP client and make the public\_html your working directory.
Once you are in, the next step is to edit the wp-config file (Right-Click to edit):
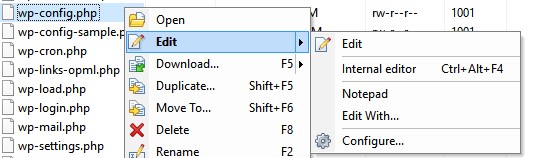
Replace:
DB_NAME— The name of the new database you createdDB_USER— The username of the new database you createdDB_PASSWORD— The password of the new database you createdDB_HOST— database hostname should belocalhost

Save when you are done, replacing the above values with your information.
Note: For a full overview and explanation of the wp-config file you can look at this tutorial.
Step 4 & 5
Same as Method 1
That’s all 😉