How to install ClassicPress with Installatron
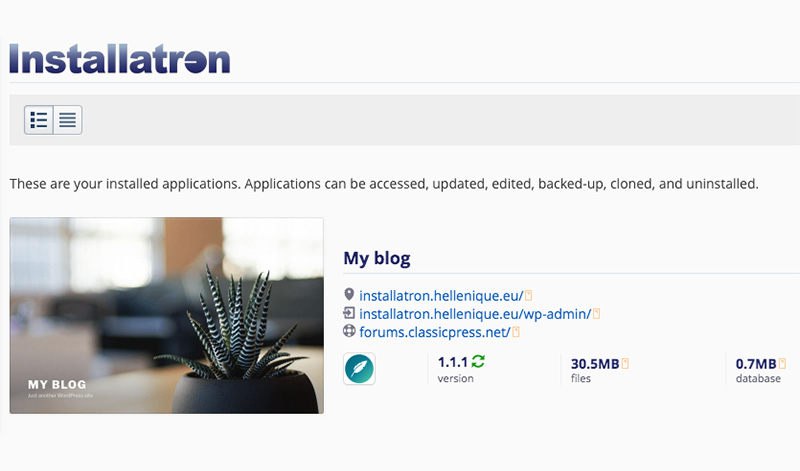
Installing a new ClassicPress website using Installatron
A while ago we explained how to import your existing sites into Installatron. In this post I will give a step by step tutorial for how to install a new site.
BEFORE INSTALL: Make sure your hosting supports PHP 7.0 or above, recommended when installing ClassicPress
Step 1: Getting started
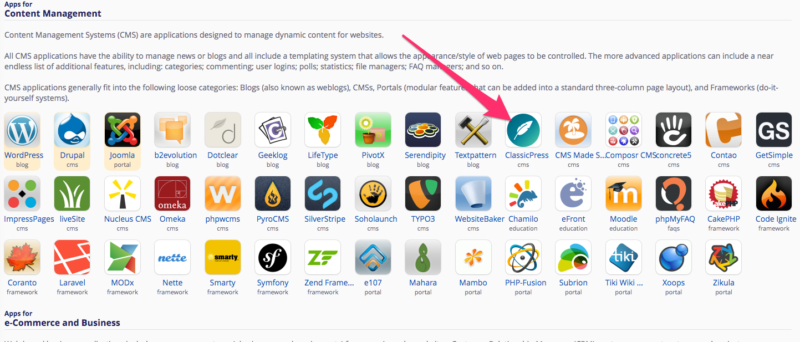
Navigate to the Application browser of Installatron.

Once there, select the ClassicPress icon.
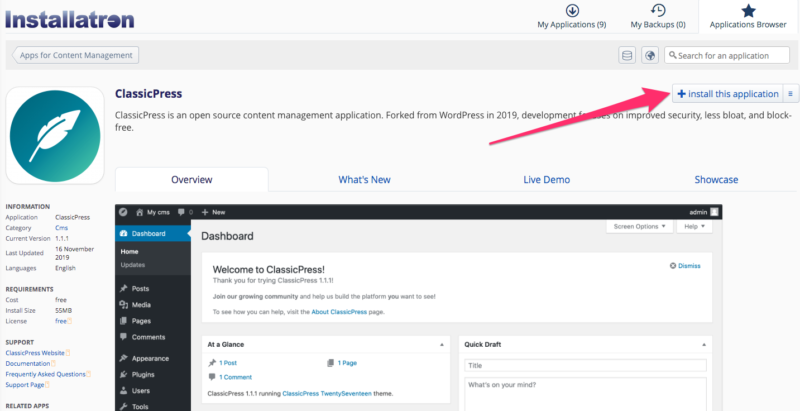
Click “Install this application” in the right corner.
Step 2: Settings
Now, fill in the Location and Version.
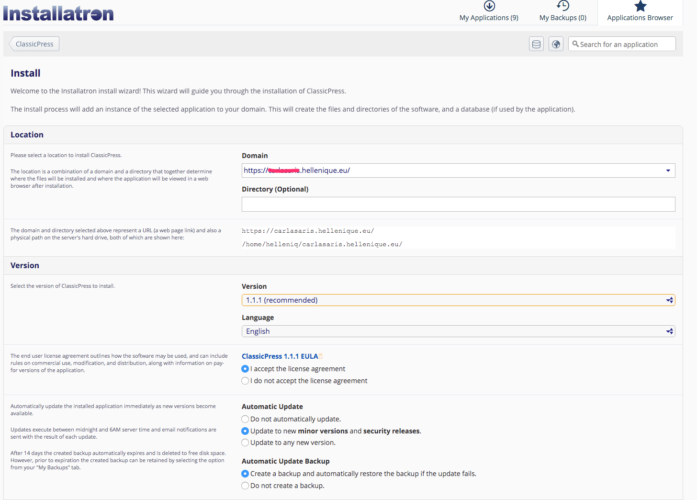
Under Location you fill in the Domain name you want to use and optionally the directory in which you want ClassicPress to be placed.
Under Version you pick the ClassicPress Version, Language and Automatic Update settings. If you are not sure what update setting you should pick, “Update new minor versions and security releases” is probably the one you need.
After this you need to fill in the Settings and Advanced settings.
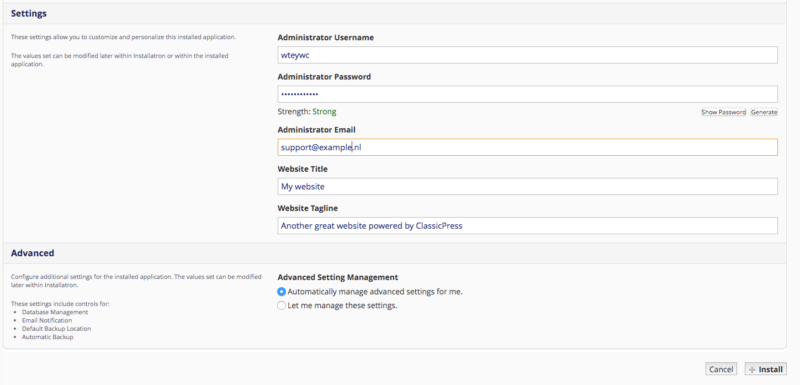
Under Settings you chose your admin’s Username, Password and Email. You also pick your site’s Title and Tagline.
After this you can decide whether you want to fill in the Advanced settings yourself or let Installatron do it for you. If you let Installatron do it, you can now click on “Install” and go to Step 3, otherwise go to Step 2½.
Step 2½: Advanced settings
In the Advanced settings you can configure some extra settings for your ClassicPress installation like Database, Notifications and Backups
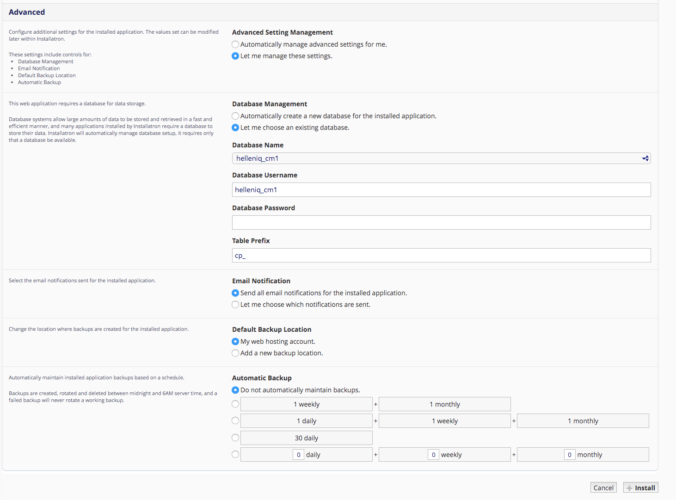
Under the Database settings you can fill in an existing database. Fill in the username and password to give Installatron access. It also allows you to pick a prefix for your table. You do not need to change this, but it is helpful to change it to something unique if you are already running other ClassicPress sites from the same Database.
The other Advanced settings allow you to pick what email notifications to receive, where automatic back-ups are stored and how often back-ups should be made.
When all of this has been filled in, you can click “Install”.
Step 3: Wait
Now simply wait for this progress bar to fill up

Once the above turns into:

You are done. Congratulations, Now get to work!
